
Dental Instrument Cleaning and Sterilization Guide
Proper dental instrument cleaning and sterilization are essential parts of infection prevention in dental clinics, hospitals, and surgical practices. A consistent reprocessing workflow helps remove contamination, supports effective sterilization, and protects instruments during handling and storage.
This guide explains the main stages of reusable dental instrument reprocessing, from safe transportation and cleaning to inspection, packaging, sterilization monitoring, and sterile storage.
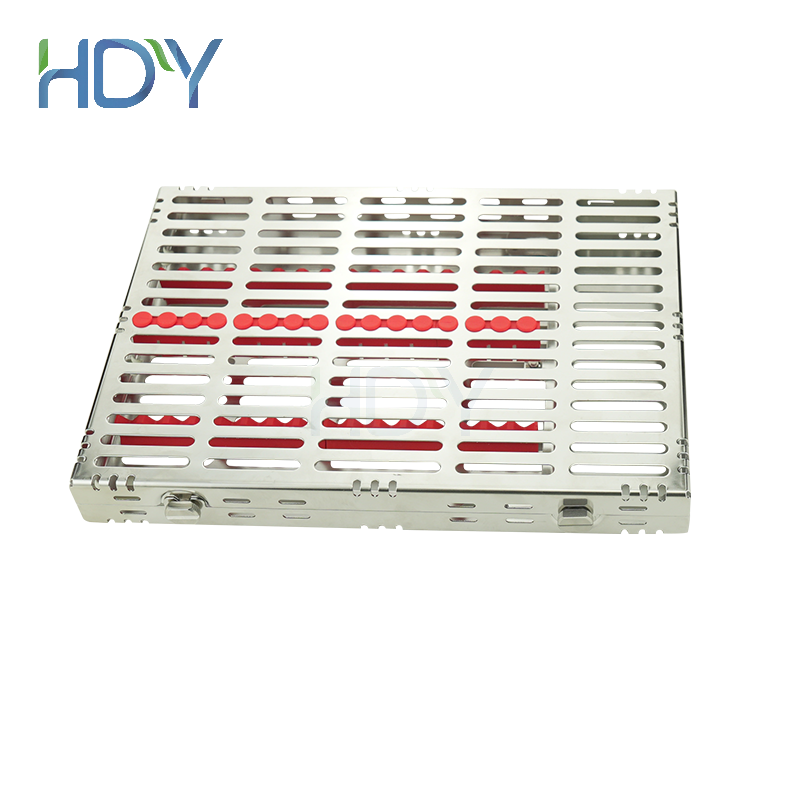
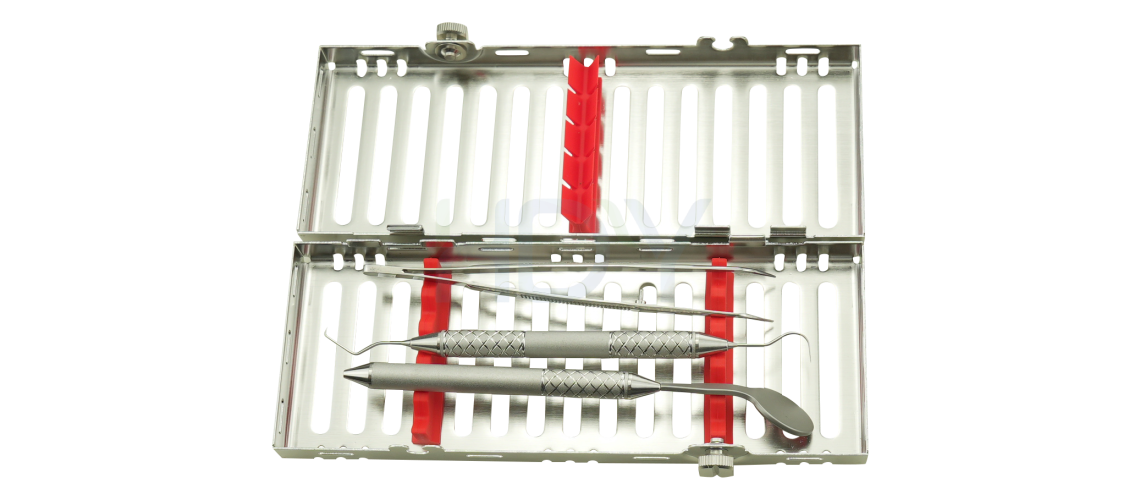
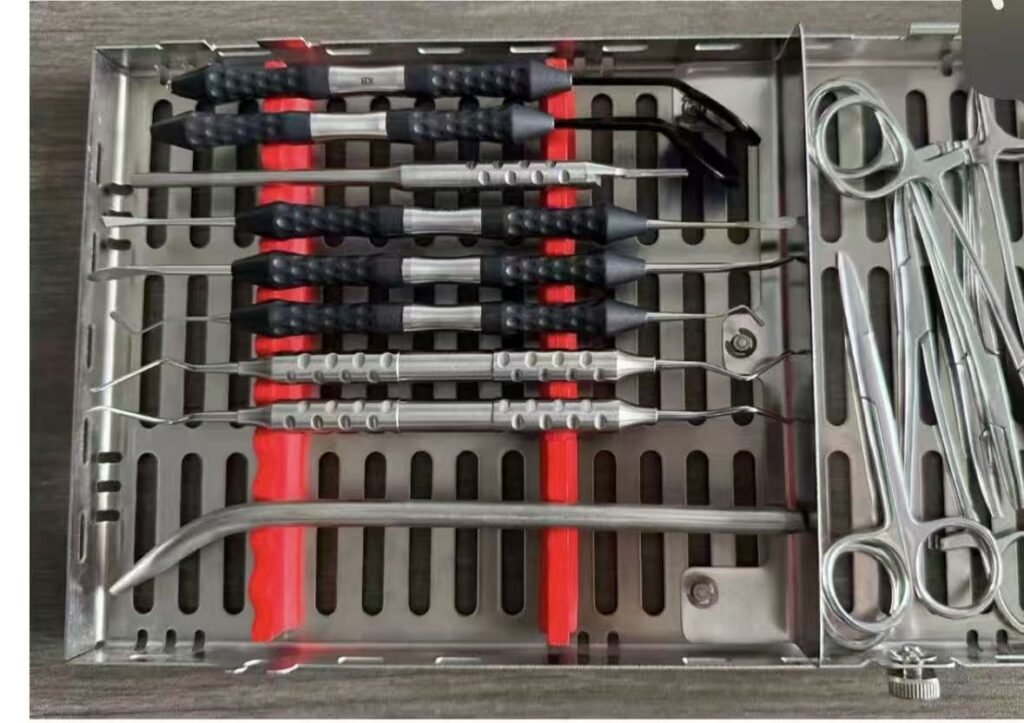
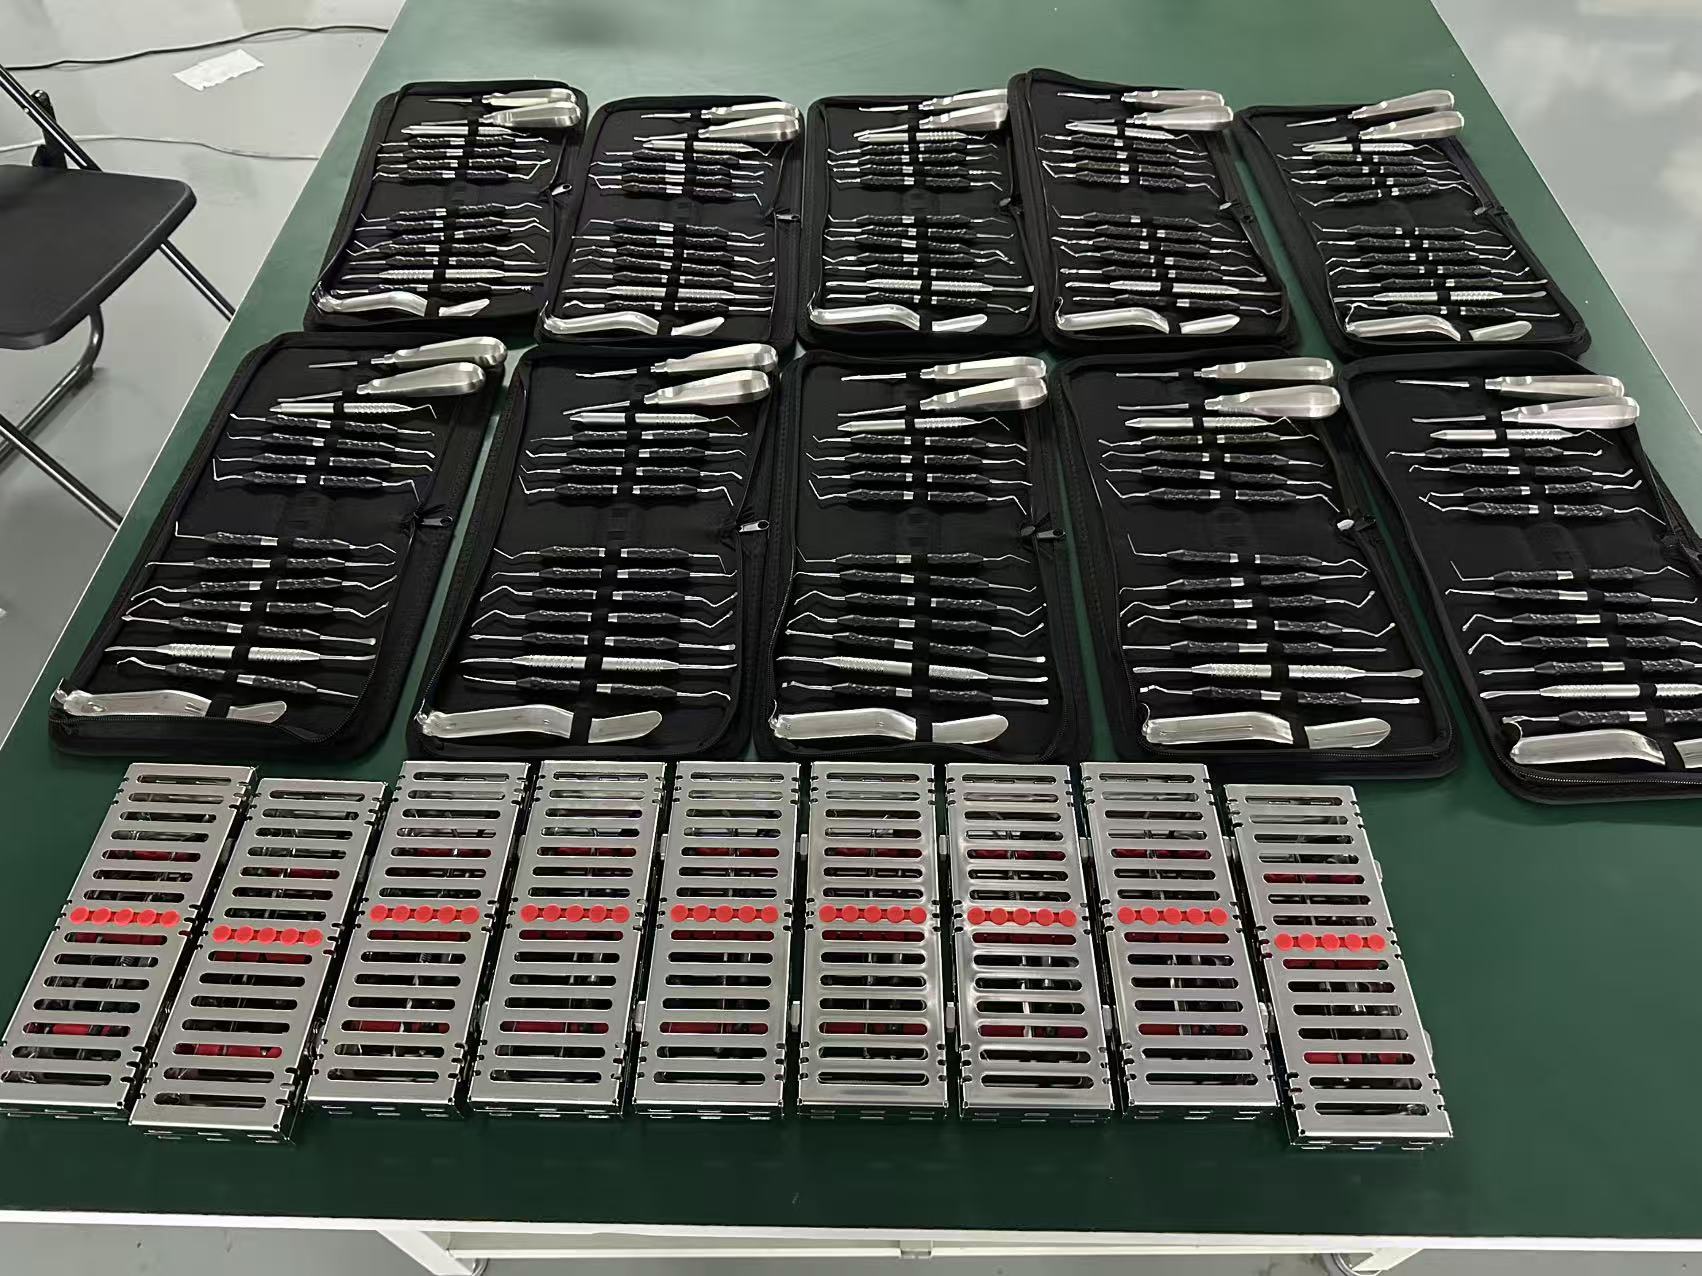
HDY dental instrument cassette for instrument organization and reprocessing workflows.
Why Proper Dental Instrument Reprocessing Is Essential
Reusable dental instruments may become contaminated with blood, saliva, tissue, and other organic material during patient care. Effective infection prevention requires a controlled process rather than relying on sterilization equipment alone.
Reduce Contamination Risks
Safe handling, thorough cleaning, and correct reprocessing help prevent contaminated instruments from exposing patients and staff to infectious material.
Support Effective Sterilization
Residual soil can interfere with disinfection and sterilization. Cleaning is a necessary step before instruments are packaged and processed according to validated instructions.
Improve Instrument Organization
Suitable dental instrument cassettes help organize instruments into procedure sets and support handling, transport, and reprocessing workflows.
View HDY Dental Cassettes →7 Steps for Dental Instrument Cleaning and Sterilization
Establish a defined workflow that separates contaminated instruments from clean, processed, and sterile items. Trained personnel should follow the applicable instructions and infection-prevention protocols at every stage.
Safe Handling and Transportation
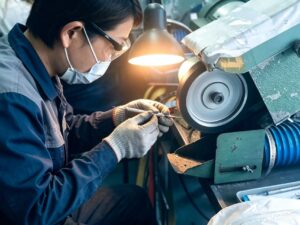
Treat used instruments as contaminated. Wear appropriate personal protective equipment (PPE) and transfer instruments in a suitable covered, puncture-resistant, leak-resistant container according to facility procedures.
Avoid carrying loose sharp instruments by hand or reaching into containers where sharp working ends cannot be seen.
Pre-Cleaning and Soil Removal
Begin cleaning as soon as practical after use, following the instrument IFU. This helps prevent blood, tissue, and other material from drying onto surfaces and becoming more difficult to remove.
Use the specified detergent, water quality, temperature, and cleaning method where these are defined by the manufacturer.
Manual or Automated Cleaning
Use a validated manual or automated cleaning method suitable for the instrument. Ultrasonic cleaners and washer-disinfectors may help remove debris and reduce direct handling of contaminated sharp instruments when used correctly.
Observe the equipment instructions for loading, detergent concentration, cycle selection, rinsing, and any required disassembly.
Rinsing, Drying, and Inspection
Rinse as directed to remove detergent residues. Dry instruments thoroughly according to the applicable instructions, then inspect them under suitable lighting for residual soil, damage, corrosion, and functional problems.
Instruments that remain visibly contaminated or fail inspection should not proceed to release for patient use. Reprocess or remove them from service according to the applicable procedure.
Packaging and Instrument Cassette Preparation
Place cleaned and inspected instruments into a packaging system or sterilization container that is suitable for the instrument and sterilization method. Follow the instructions for the cassette, wrap, pouch, or container system.
Ensure that instruments are arranged correctly and that the packaging or container does not prevent the required cleaning, sterilant contact, or drying process.
Explore HDY sterilization cassettes →Sterilization and Cycle Monitoring
Select the sterilization method and cycle specified for the instrument, packaging system, and sterilizer. Do not assume that every instrument or cassette can be processed using the same temperature, time, or cycle.
Monitor the process using the appropriate mechanical, chemical, and biological indicators as required by current guidance, equipment instructions, and local policy. Record the required cycle and load information.
Cooling, Storage, and Release
Allow processed items to cool and dry according to the applicable instructions. Check the package and indicators before release, and store sterile instruments in designated clean, dry, protected storage.
Wet, torn, punctured, or otherwise compromised packages should not be treated as sterile. Follow facility policy for reprocessing before patient use.
Reference: CDC, Best Practices for Sterilization in Dental Settings. Read the CDC guidance →
Do All Dental Instruments Require the Same Sterilization Method?
No. The required reprocessing method depends on the instrument's intended use, risk classification, material, design, and validated manufacturer instructions.
| Categoría de instrumentos | General Infection-Control Principle | What to Verify |
|---|---|---|
| Critical instruments | Instruments that penetrate soft tissue or bone, such as extraction forceps and surgical instruments, must be heat sterilized after each use or discarded when intended for single use. | Validated reprocessing instructions and compatibility with the selected cycle. |
| Semicritical instruments | Instruments contacting mucous membranes or non-intact skin should generally be heat sterilized when heat tolerant. Applicable alternatives for heat-sensitive devices depend on current guidance and the device IFU. | Intended use, heat tolerance, manufacturer instructions, and applicable regulations. |
| Noncritical items | Items contacting intact skin are generally cleaned and, when indicated, disinfected according to their intended use and applicable guidance. | Contact classification, contamination, surface compatibility, and facility protocol. |
How Dental Instrument Cassettes Support Reprocessing Workflows
Dental instrument cassettes provide an organized way to hold and manage instrument sets. Appropriate designs can help reduce loose-instrument handling, support standardized set preparation, and simplify transport and inventory management.
HDY dental cassette product image.
What Buyers Should Evaluate in a Dental Cassette
- Capacity appropriate for the intended instrument set
- Retention and separation of instruments during handling
- Material compatibility with the specified cleaning and sterilization method
- Design that allows the required cleaning, sterilant access, and drying
- Compatibility with the instruments and packaging workflow
- Clear identification for procedure sets and inventory control
H0801 — 8 Instruments
A compact option to consider for smaller instrument groups. Confirm the actual configuration and intended workflow before selecting a model.
View cassette range →H1601 — 16 Instruments
A larger configuration for organizing broader instrument sets. Review the model specifications and applicable processing instructions.
View H1601 details →H2001 — 20 Instruments
A higher-capacity option to evaluate for larger instrument groups and standardized clinical set planning.
Explore cassette models →Capacity and model references are for product selection only. Confirm the exact model's construction, materials, loading requirements, and validated reprocessing compatibility before clinical use. A cassette organizes instruments; it does not independently clean or sterilize them.
Common Dental Instrument Cleaning and Sterilization Mistakes
A consistent procedure helps prevent avoidable reprocessing failures and supports safe instrument handling.
Insufficient Cleaning Before Sterilization
Visible debris and organic material must be removed before sterilization. Do not treat a sterilization cycle as a substitute for effective cleaning.
Using an Unapproved Cycle
Incorrect time, temperature, loading, or processing conditions may compromise the result. Follow the validated instructions for the specific device and equipment.
Overloading Cassettes or Packages
Improper loading may interfere with cleaning, sterilant contact, or drying. Follow cassette and sterilizer instructions for permitted loading and arrangement.
Ignoring Damaged Packaging
Packages that are wet, torn, punctured, or otherwise compromised should not be released as sterile. Follow the required reprocessing procedure before use.
Skipping Monitoring and Records
Use required indicators and maintain the appropriate cycle, maintenance, and monitoring records. Follow local rules for review and corrective action.
Mixing Clean and Contaminated Instruments
Keep contaminated receiving and cleaning activities separated from clean preparation, sterilization, and storage areas through an appropriate workflow.
Dental Instruments and Cassette Solutions
Explore HDY's instrument categories and cassette products to plan organized dental instrument sets for clinics, distributors, and private-label projects.
Casetes dentales
Explore cassette options for instrument organization and reprocessing workflows.
Explora los casetes →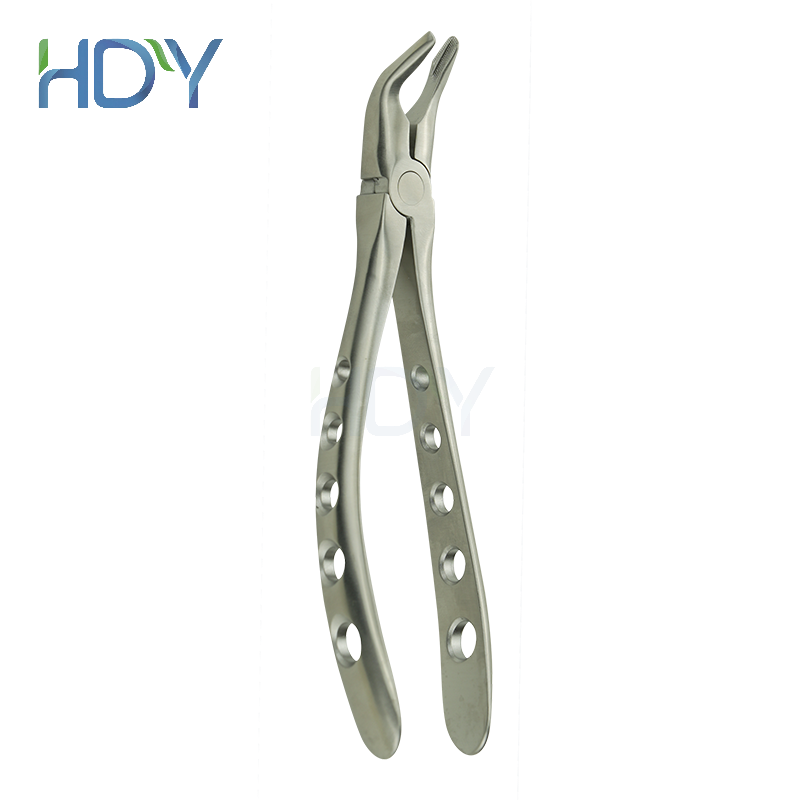
Pinzas dentales
Review hinged instruments for dental extraction and oral surgery.
Descubre las pinzas →
Instrumentos de diagnóstico
Browse mirrors, explorers, and other diagnostic hand instruments.
Explora «Diagnósticos» →Dental Instrument Sterilization FAQs
1. What is the correct order for dental instrument cleaning and sterilization?
The general workflow includes safe handling and transport, cleaning, rinsing and drying as specified, inspection, packaging or container preparation, sterilization with appropriate monitoring, and protected storage. Always follow the validated instructions for the specific instrument and equipment.
2. Should dental instruments be cleaned before autoclaving?
Yes. Reusable instruments must be cleaned before sterilization. Blood, saliva, and other residual material can interfere with effective reprocessing. Follow the instrument's cleaning instructions before packaging and sterilization.
3. Can a dental instrument cassette be placed in an autoclave?
Only when the specific cassette model is designed and validated for the selected sterilization process. Verify its material, loading instructions, and compatibility with the instrument and sterilizer manufacturers' instructions.
4. Does using a dental cassette guarantee successful sterilization?
No. A cassette supports instrument organization and handling but does not independently sterilize its contents. Successful processing depends on proper cleaning, compatible packaging or containers, correct loading, validated cycles, monitoring, and storage.
5. How should sterilized dental instruments be stored?
Store processed instruments in a designated clean, dry, protected area according to applicable policy. Inspect packages before use. If packaging integrity is compromised, follow the required reprocessing procedure before patient use.
6. Can all dental instruments be sterilized at the same temperature?
No. Instrument materials, designs, packaging, and validated processing requirements differ. Use only the cycle and method specified for the particular instrument, container, and sterilizer combination.
7. Where can I find official dental infection-control guidance?
Refer to the CDC's official guidance on sterilization and disinfection in dental settings and follow the relevant local regulatory requirements.
Learn More About HDY Dental Instruments
Looking for Dental Instrument Cassettes or Custom Instrument Sets?
HDY Medical Technology (Guangzhou) Co., Ltd. supplies dental instruments and cassette solutions for international B2B customers. Contact our team to discuss product models, cassette configurations, branding, packaging, and the applicable product documentation for your project.
Contact HDY for Product Information →Correo electrónico: info@hdydent.com | hdydent.com
 Español
 English
 简体中文
 Deutsch
 Français
 العربية